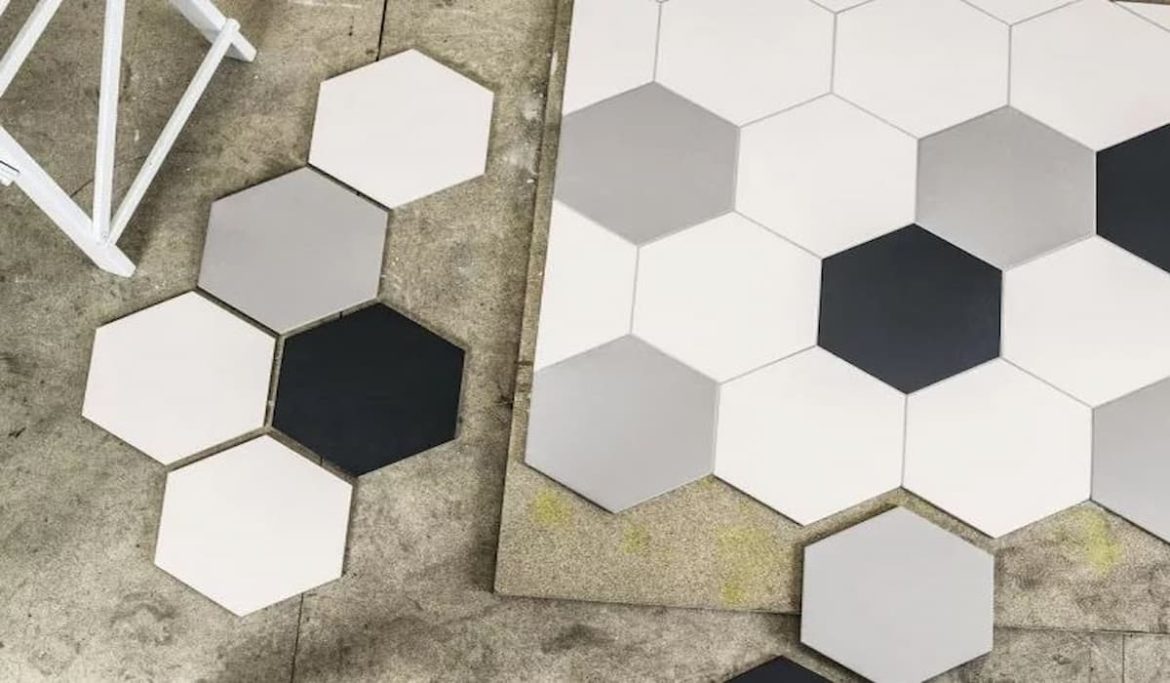
tile snap cutter vs wet saw
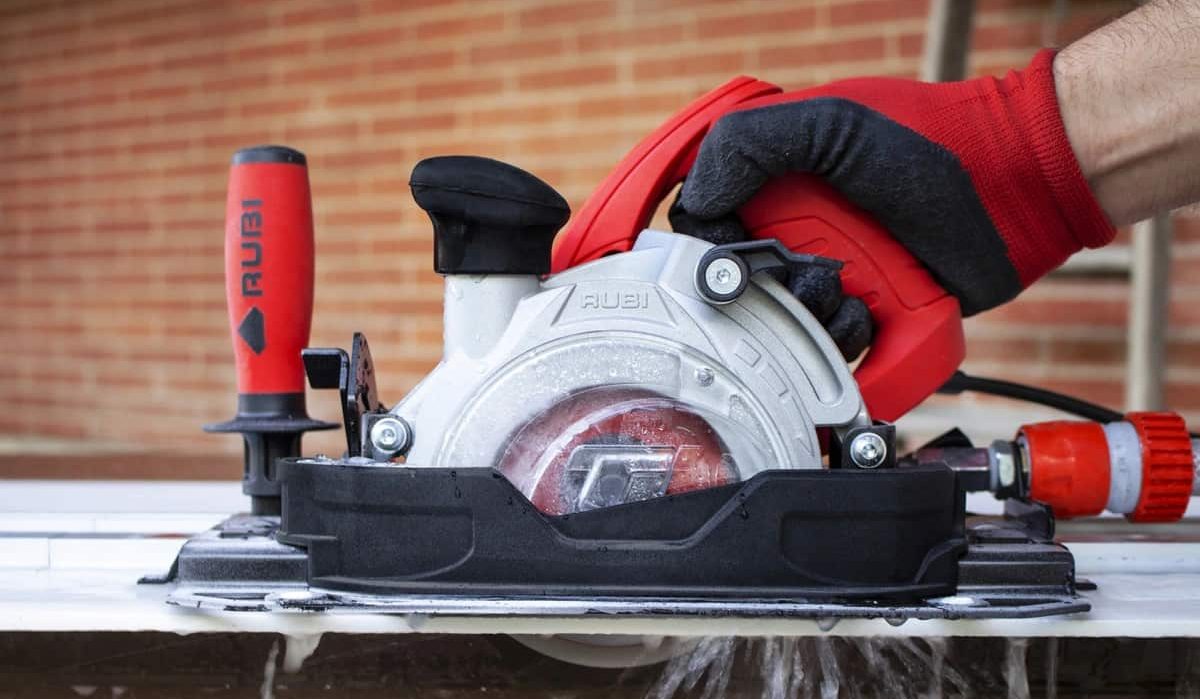
When comparing snap cutter vs wet saw, Professionals often utilize a power wet saw to cut ceramic, and porcelain tile, although the majority of do-it-yourselfers find that a basic snap tile cutter suffices for minor projects
Planning cannot eliminate the requirement to cut partial ceramic tiles where the tiled surface meets walls or cabinets, but it can limit the number of tiles that must be cut while installing ceramic tiles
Therefore, the ability to cut tiles is a crucial aspect of tiling
While ragged, rough cuts will always grab attention, partial tiles with clean, smooth edges will make the total tile installation look professional, regardless of the quality of the remainder of the installation
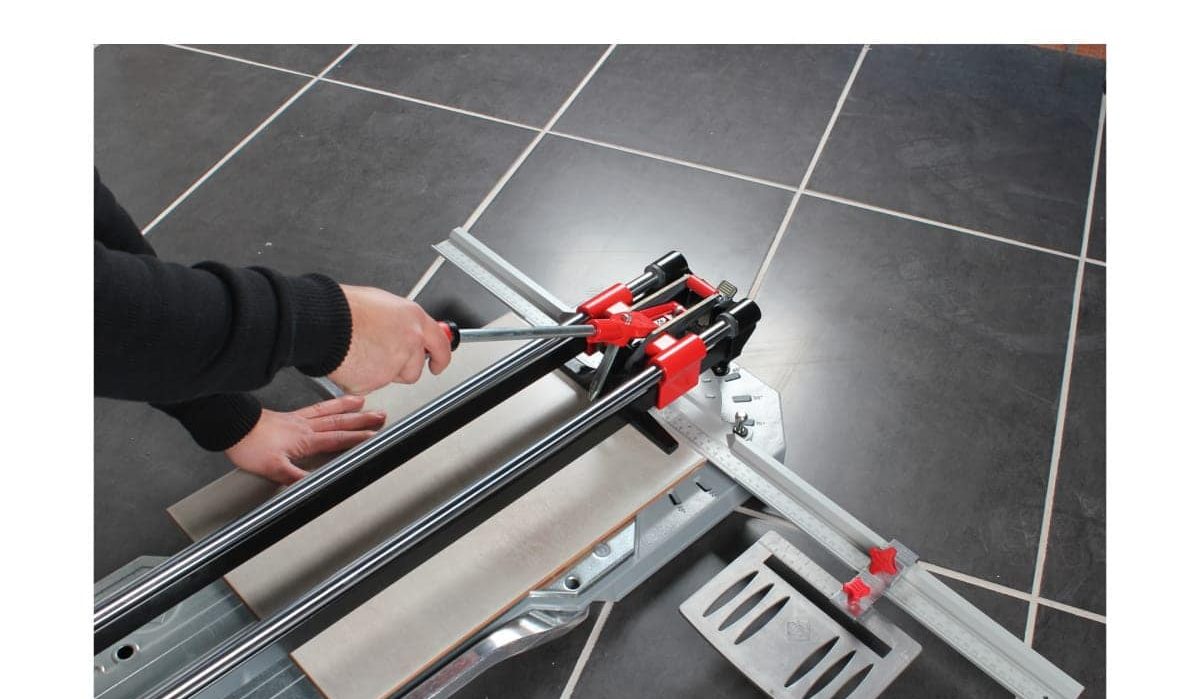
On the non-skid, strengthened steel base of a snap cutter is a rubber pad against which the tile sits
They are commonly available in a variety of styles at home improvement stores, tile shops, and online
Two steel rails operate a pressure pad that snaps tiles and a cutting roller that scores tiles
The tile is positioned above a metal ridge that runs perpendicular to the scoring wheel’s route
The score is produced by firmly moving the scoring wheel across the face of the tile
When the pressure bar pad is placed across the tile and a strong downward force is exerted to each side, the tile will then break across its score line
There are a variety of snap tile cutter designs
The premium models are sturdier and more stable, and they may incorporate a miter guide that facilitates cutting tiles at an angle, which is ideal for diamond-shaped tile designs
Standard ceramic tiles with a thickness of up to 3/8 inch may normally be cut without any problem using a snap tile cutter
However, the application of this technology is limited
This device struggles to cut porcelain and natural stone tiles, which are notably tougher than standard ceramic tiles, as well as ceramic floor tiles thicker than 3/8 inches
When a snap cutter is not available, these materials can be simply cut with a power wet saw equipped with a diamond blade
In addition, a wet saw is essential for any extremely large tiling project that requires a great deal of cutting, as it makes the labor considerably easier
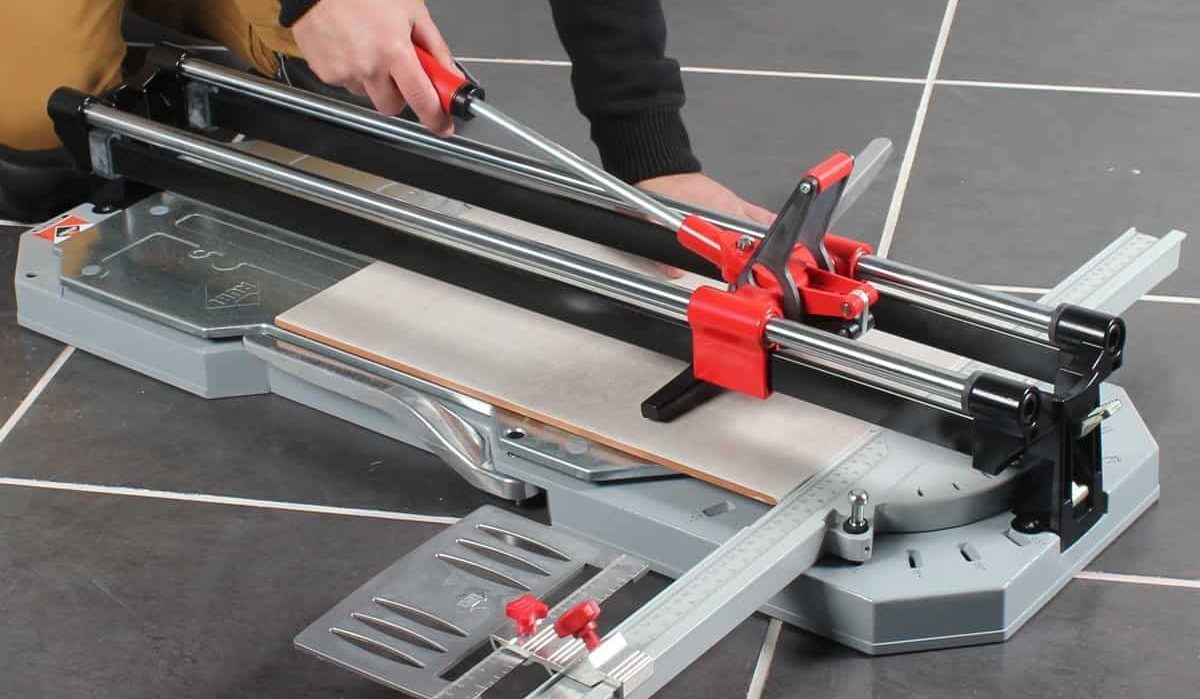
Wet saws are available for hire from home improvement stores and tool rental companies; however, do-it-yourselfers who frequently work with tiles may wish to purchase a reasonably priced model
Eye protection must be used when utilizing a snap tile cutter
It is not uncommon for tiny, pointy bits of tile to shoot off after the tile has been snapped by a tool
Mark the upper and lower margins of the tile’s face to indicate where to cut
As you position the tile, glazed side up, on the cutter bed between the cutting wheel and pressure pad, the cutting lines should align with the guideline on the tool’s bed
The tile edges must be firmly pressed against the cutter’s end stop
A few instruments provide an edge guide for securing the tile’s side
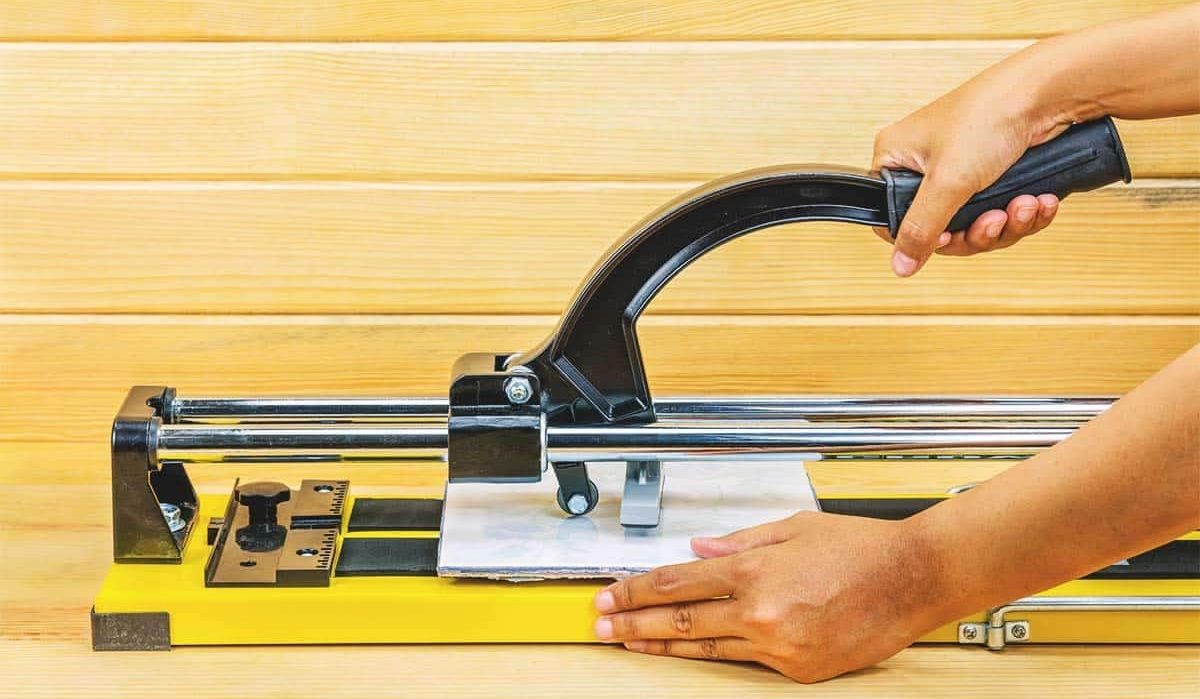
When the cutting wheel is resting on the tile’s near edge, move it along the rails
Once the tile is perfectly in place, score the tile face by sliding the tungsten carbide scoring wheel from the near (closest to you) to the far (furthest from you) sides of the tile face
Downward pressure is applied to the cutting wheel
Do not attempt to cut through the tile with several passes; a second pass with the cutting wheel may be required to see a score line
Too many scores will cause the glaze’s edge to become chipped and unfinished
After scoring the tile, the snap cut is the subsequent procedure
To achieve this, elevate the handle while enabling the pressure bar pad to swing down onto the tile’s approximate center
Apply a hard, then gradually gentler, downward force to the handle
This will result in the pressure pad pressing uniformly on both sides of the tile’s metal snapping ridge
The tile will snap cleanly across the score line if it has been accurately scored
This tool can also be used to cut mosaic tile sheets, such as the ceramic subway wall tiles that are commonly used for kitchen backsplashes
Start the scoring wheel at the bottom of the first tile, then slowly, deliberately, and meticulously score each tile in turn when slicing a tile sheet
To be successful, a score must span the complete width of each tile
This may take some time if you are working with sheets of really tiny tiles
If the score lines are not straight, especially along the edges, the tiling may not separate smoothly
This could result in surface glazing chips on the tiles
After scoring, individually shatter each tile by pushing it downward
Cut the mesh backing using a utility knife to separate the sheet into two sections
If the cut tiles have jagged or sharp edges, use a sanding sponge to smooth them down
For more guidelines on cutting the ceramic tiles please contact our sales managers


