The purchase price of Ceiling Tile from production to consumption
Depending on your level of skill, you can install ceramic tile to the ceiling of a shower in one or two days of work
Let’s analyze how the equipment, materials, and methods are utilized in this undertaking
Before you begin, we will also provide guidance on the best bathroom tile to use and how to remove old shower tiles (if necessary)
Before purchasing tools and materials, it is prudent to properly plan out a project of this sort
If not, you may find yourself making unwelcomely frequent trips to the hardware store
Let’s examine the processes for starting
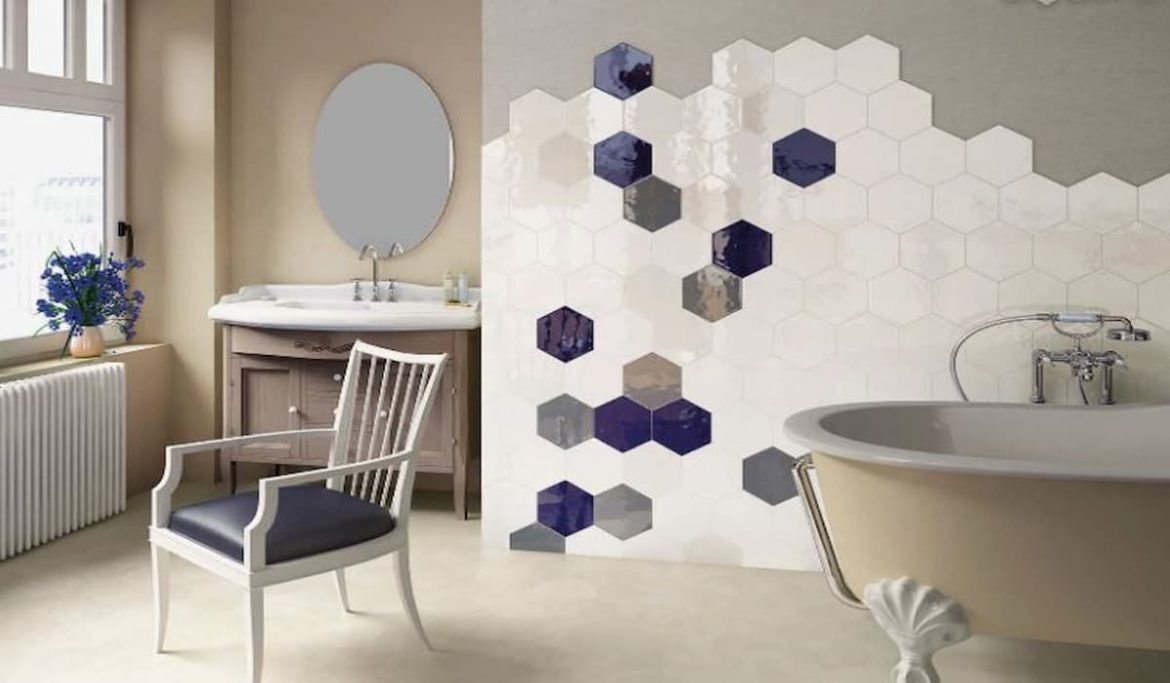
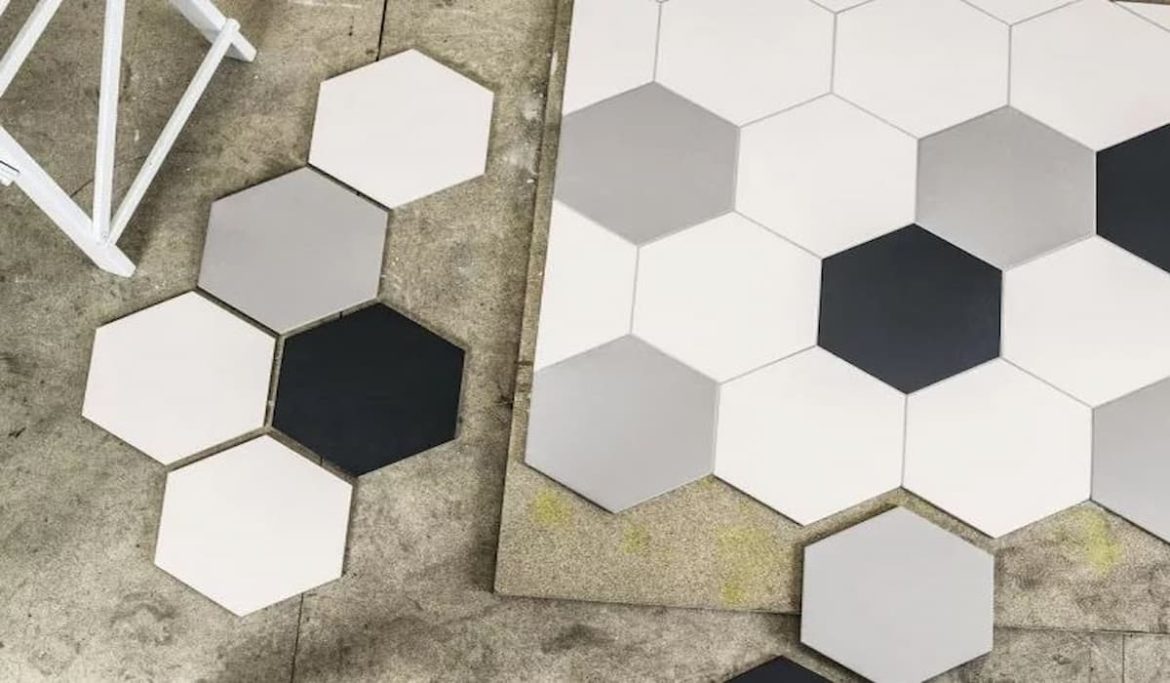
Choose whether the tiles will be diagonally or evenly placed between the grout lines (or on-point)

The latter option will require more planning
Ensure that the substrate surface of your ceiling is properly installed, securely secured to the supporting joists, and free of water damage
Gather all of your materials and arrange them in the bathroom
Spread the drop cloth over the shower floor, making sure to include the borders
Find the center of the ceiling by using a measuring tape to determine its length and width
Here, draw a pencil mark after measuring
Then, using a ruler, draw parallel lines that cross through the center of your figure
Apply these lines to ensure that your tiles are aligned in a straight line
Almost certainly, some tiles will need to be trimmed to fit around the wall’s corners
After taking measurements and determining how many whole tile pieces are required to cover the ceiling, determine the number of pieces that will need to be cut
Cut the excess tiles with a tile cutter and set them aside
In the mixing bucket, thoroughly combine the thin-set and water using the paddle
Stirring the liquid every few minutes will aid in its thickening, which might take between 5 and 10 minutes (depending on the brand)
Apply a thin layer of thin-set on the back of a single tile using your trowel, taking care to produce regular ridges
Mark a bullseye on the reverse of the tile with your trowel

To maintain the tile’s position while the thin-set cures, the bull’s-eye pattern is employed to provide suction
Install the tile on the ceiling while pressing it up firmly
Ensure the tile is precisely aligned with the parallel lines you made for the center point
You should be able to hear the thin-set being crushed for air when you do this
Left and right, as well as the top and bottom sides of the tile, should be taped with two 3- to 5-inch-long pieces of painter’s tape
Repeat these steps to add additional tiles to the same row, ensuring that each one is firmly affixed to the ceiling and near to its neighbor
If necessary, take your spacers and place them evenly between the tiles
To avoid generating an uneven tile row ceiling, double-check each tile as it is being installed to verify that it is properly aligned with the previous tile
As you move closer to the wall, ensure that the cut tile pieces will fit between the wall’s margins and the previously put tiles
If they are too huge, you must remeasure and then cut them using a tile nipper; if they are too little, you must recut them from larger pieces
Repeat this technique until all rows have been mounted on the ceiling
Allow the thin-set to cure and set for 24 hours
After the grout has dry, remove any plastic spacers and painter’s tape from the tiles
Fill the mixing bucket with grout and water
Using a paddle, combine the ingredients until a thick mixture develops
Using a trowel, distribute the grout between the tile lines, working one row at a time
Use a small quantity of grout for each application to avoid it from falling from the ceiling into your face or clothing
After applying grout to all of the ceiling tiles, double-check to make sure you haven’t missed any spots
After wetting your sponge, clean the places where the grout was placed directly on the tile surface
Then, give them a second wipe down after allowing the grout to cure for 45 minutes to an hour
Using scissors or a box cutter, remove the applicator tip from your silicone caulk
Then, using a caulking gun and the tube of caulk, apply caulk to the tile’s edges
Slowly move the caulking gun along the grout lines while applying even pressure to each spot
Remove any leftover caulk from the front of the tiles using a sponge that has been meticulously cleaned after its previous use
You can install new tiles directly on top of the old ones if the original tiles are in good shape, have no cracks, and the substrate or backer board is in good condition
Ensure that the stems of your faucet water valves are long enough to accommodate an additional layer of tile
Before replacing a tile, its surface must be abraded to ensure adequate adherence
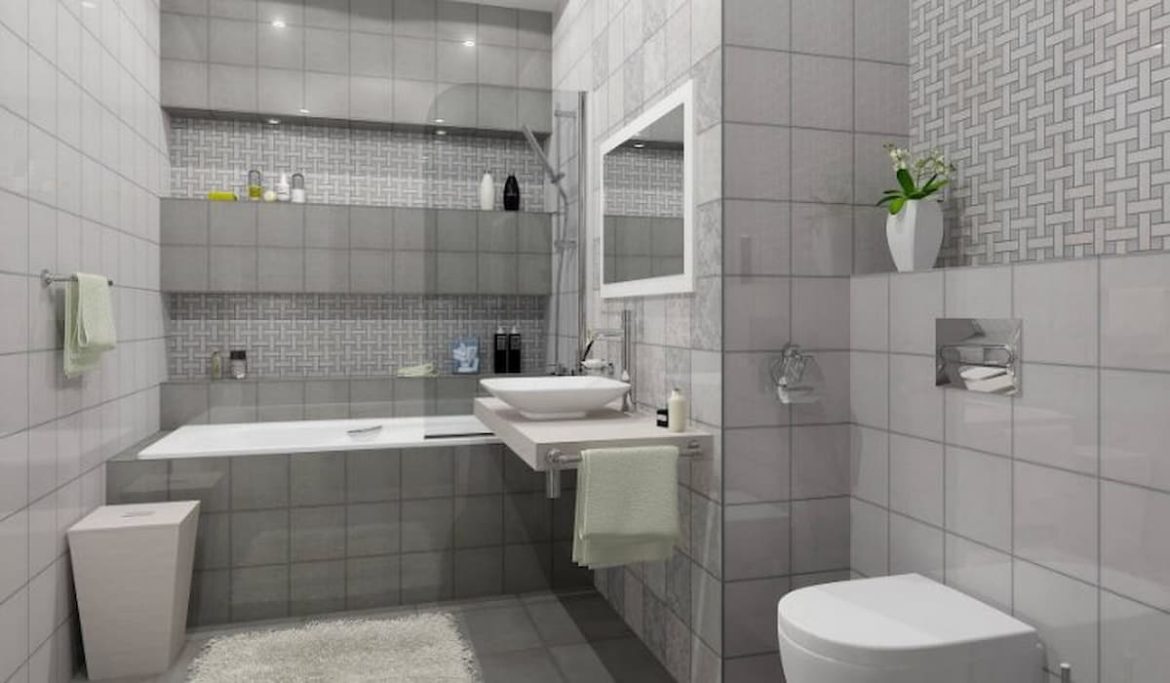
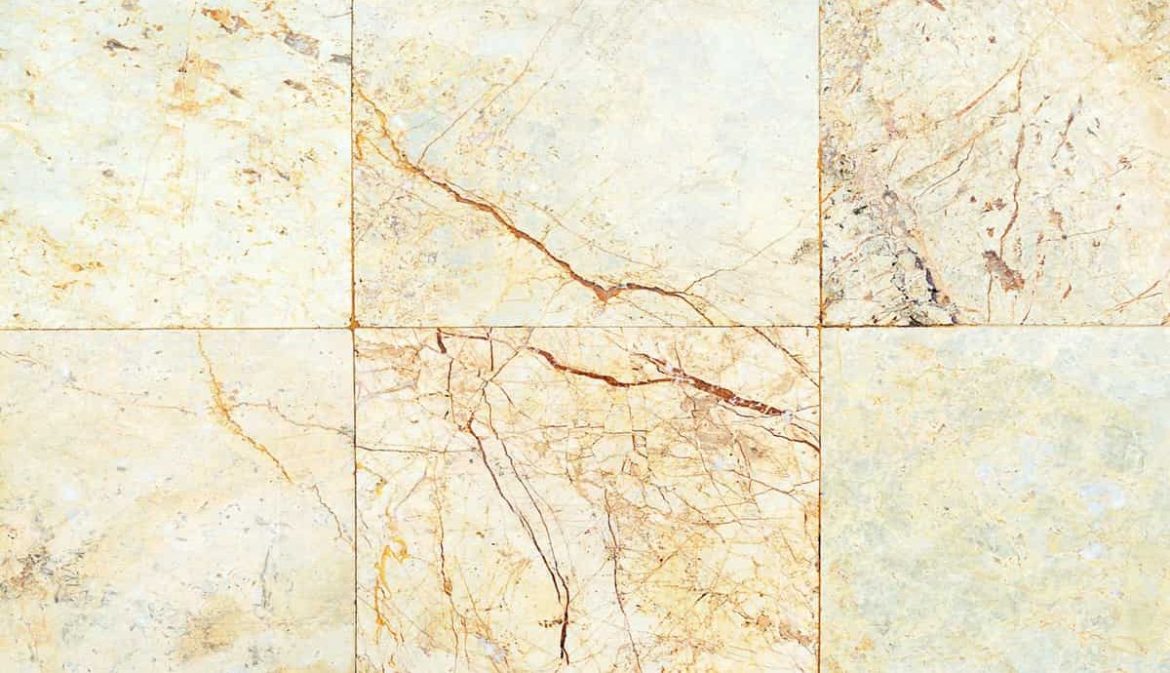
Despite the fact that porcelain tiles are more durable than ceramic tiles and, as a result, are more common in residential bathrooms, the choice ultimately depends on your preferences
Porcelain tiles offer long-lasting durability, but at a price, as they are typically more expensive than ceramic tiles
Consequently, your project’s budget will also play a factor in determining which option is “optimal
” Porcelain tiles are less porous, denser, and less likely to absorb stains and moisture than ceramic tiles
As a result, porcelain tiles are an ideal solution for both indoor and exterior applications
Due to their low water absorption rate, porcelain tiles are frost-resistant, which is advantageous for homes in colder regions
These tiles are considerably more resistant to damage than ceramic tiles and are better able to withstand normal wear and tear
Ceramic tiles are best suited for low to moderate foot activity regions
In comparison to porcelain tiles, they usually absorb water much more rapidly
Moreover, they are more susceptible to surface damage caused by natural wear and tear, such as chips
If the substrate surface and tiles are installed correctly, waterproof membranes may not be necessary, and most residential construction codes just need this
As neither grout nor thin-set is waterproof, a layer of waterproofing must be applied to protect the backer board from prolonged exposure to moisture (which could cause mold and water damage)
To receive more guidelines on installing the tiles in the shower ceiling contact our experts